In the past week a friend of mine, Drey, showed interested to learn how to do vector badges like I did in this
post. So here is the tutorial of Vector Badges. Hope you like it my friends :)
So let's us start.
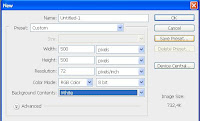
1-Start a new document with the following settings:
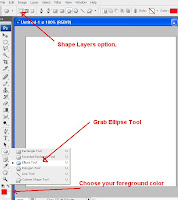
2-Grab the
Ellipse Tool, choose red as your foreground color, or any color you wish, it won't affect our results, and make sure it's option is set to
Shape Layers.
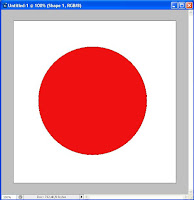
3-Now hold
SHIFT and draw a circle on our canvas, this will the base of our badge, but don’t worry about the size of the circle, since it’s vector based you will be able to scale it later on if you need to.
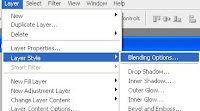
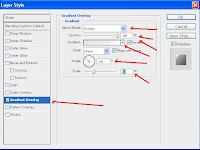
4-It's time to add the effect of the
Layer Style. Go to
LAYER>LAYER STYLE>BLENDING OPTIONS.
5-Now add the following effects:

7-Time for us to add two highlight, at the bottom and at the top. Duplicate the layer with the circle on it with
CTRL+J or go to
LAYER>DUPLICATE LAYER.
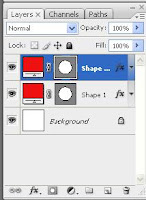
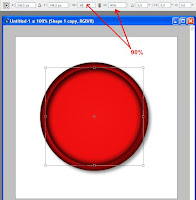
8-Resize the duplicated layer to
90% by going to
EDIT>TRANSFORM>SCALE. Press
Enter to apply the new transformation.
9-Now go to
LAYER>LAYER STYLE>BLENDING OPTIONS once again and uncheck all the effects except for
Gradient Overlay, which should get the following settings:
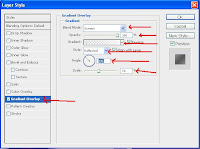
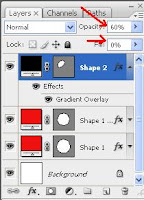
10-Now set the
Fill of the layer to
0% and the
Opacity to
30% or
35%.

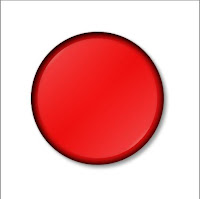
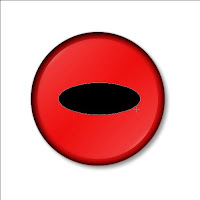
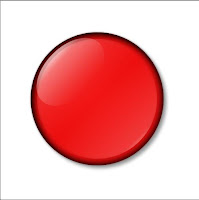
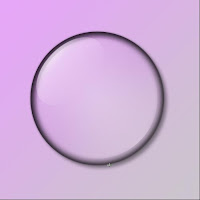
11-Now we have something like this, beautiful but not done yet :)
12-Time to create our main highlight, select the
Ellipse Tool like on the 2nd step but this time don't draw a circle, draw a black ellipse.
13-Let's position this black ellipse where we want the light to come from. Select the
Move Tool and check the
Show Transform Controls checkbox in the top bar menu.
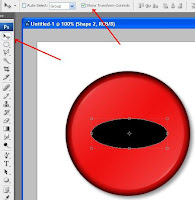
14-While holding down
SHIFT rotate the layer (place your pointer around the corners of the layer and start dragging). Rotate it to a 45-degree angle and place it where you want the highlight.
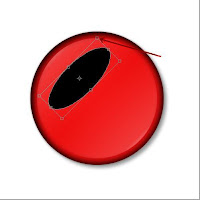
15-Select the point at the center on the top of the ellipse and drag is up like this. Press
Enter to apply our transformation.
16-With the black ellipse layer selected we are going to change this to a true highlight, so let's visit our friend, c'mon you guessed it,
Blending Options, by going to
LAYER>LAYER STYLE>BLENDING OPTIONS. And add this values to
Gradient Overlay:
17-Change the
Fill of the layer to
0% and the
Opacity to
60%, and if your highlight doesn't look like in a good place, move it with the move tool.
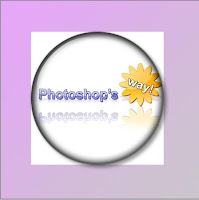
18-My badge has this look, how about yours?
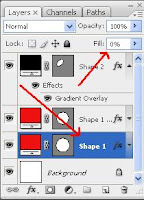
19-Choose your first layer where you created your badge and change the
Fill to
0% so the color goes away.
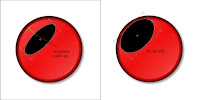
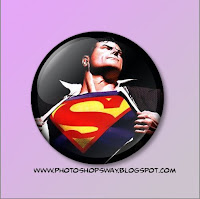
20-To show you what your badge should look like at this stage. I’ve changed my background to some kind of purple and grey, since the highlights won’t show on a white background.
21-We are almost there mateys! Now it's time for fun. Drag the picture you want to use on your badge to the canvas.And send the layer of the image below your badge base layer. I am going to use the logo of our favorite blog :). Line it up so it fills the badge.
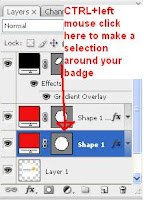
22-Now
CTRL+Click on your badge base layer to make a selection of it.
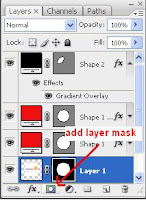
23-With the selection around your badge select your
picture layer and click
Add Layer Mask button to hide everything outside of the badge.
And we are done, look at this beauty! Try it with your favorites pictures.

Another Test
Note: Remember that the badge itself is vector based so you can resize it all you want, but the content you have inside the badge might not be vector so resize the badge before you add content.You can download the tutorial and the file
here (The new function of our blog)
Password to unzip: photoshopsway Hugs my friends
Kal El


